Users might be required to reset a Starlink router for several reasons. Knowing the typical reasons for a router reset will help you keep your internet connection consistent, whether you’re having connectivity problems or need to update your settings.
Connectivity issues might be caused by network congestion or a short-term bug when you see a rapid dip in internet speed or sporadic access. Such problems might be fixed by clearing the cached data on the router.
Moreover, updates are essential for preserving security and improving performance. For these upgrades to take effect and ensure that your Starlink router is running with the newest capabilities, a router reset may be necessary. Resetting your router may be necessary to execute configuration changes, such as changing the Wi-Fi password or the security settings.
At times, the router may overheat or experience hardware problems due to constant use or environmental variables. Resetting can help the device cool down and alleviate momentary hardware-related issues. Routers store data in memory and cache to increase performance.
But over time, this data can cause lags or connectivity problems. These caches are cleared when the router is reset, improving performance. Resetting the router can be used as a last attempt to fix persistent connectivity issues after all other troubleshooting techniques have failed.
Contents
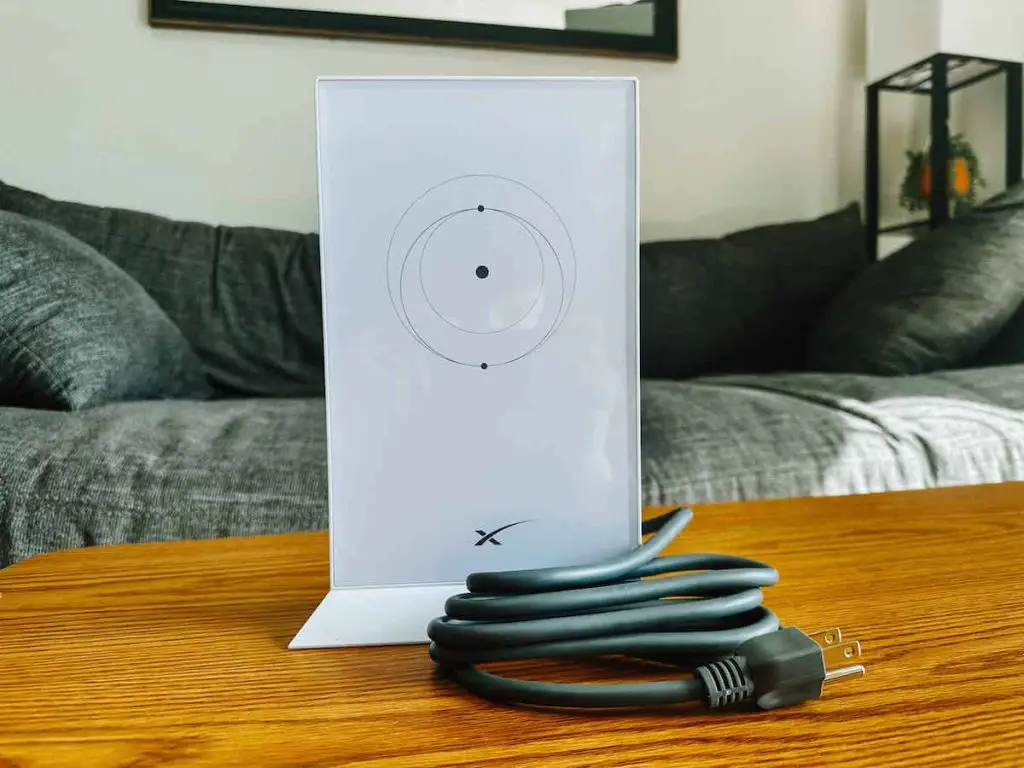
How to Reset Your Starlink Router
Resetting your Starlink router can help you fix several connectivity problems and enhance functionality. Adhere to the steps in this guide to properly reset your router:
- Power Off: Turn off the power by locating and unplugging the power adapter into your router. This will guarantee that the router will shut off completely.
- Locate the reset button: Search for the reset button on the bottom or back of your Starlink router. A pin or paperclip is typically needed to push the tiny “Reset” hole.
- Execute the reset: Press and hold the button for approximately 10-15 seconds after inserting the pin or paperclip into the reset hole. There can be a little resistance. This step will start the reset procedure.
- Power On: Reconnect the power adapter to the router’s power source while holding down the reset button to turn it on. While the router turns on, hold down the reset button for 10 to 15 seconds. This procedure guarantees a total reset.
- Release Reset button: Release the reset button when the allotted time has passed. When the router began to boot up, the reset was successful.
- Configuration: Watch for a complete router restart. Use your computer or smartphone to connect to the built-in Wi-Fi network once the indicator lights have stabilized and the router is operational. The network name and password are printed on a sticker affixed to the router.
- Access Router Configuration: The router’s IP address, typically 192.168.1.1 or 192.168.0.1, should be typed into the address bar of a web browser. You can access the router’s configuration page by doing this.
- Test your Connectivity: Check if your devices are successfully connected to the internet after restoring settings. Do a speed test to see whether the reset has improved your connectivity.
Troubleshooting Common Issues Before Resetting
Addressing frequent problems is essential as that could be the root of connectivity issues before restarting your router. What you should do is:
Verify the connections and power: Ensure your Starlink router is powered up and correctly connected. Additionally, look for any loose or damaged connections in the router’s wires to the modem and other devices.
Restart your devices and modem: Your router and modem should be off. Restart them after around 30 seconds have passed. Problems with the connection to your internet service provider can frequently be resolved by restarting the modem.
Check for Interference: Your signal may be affected by other electronic devices, nearby Wi-Fi networks, or physical obstructions. Make sure your router is located in the best possible spot, and if necessary, select a less busy Wi-Fi channel.
Disable your proxy or VPN: Disable any virtual private network (VPN) or proxy software you’ve been using to check if it’s affecting your connectivity. These services may occasionally disrupt your connection.
Soft Reset your device: Consider performing a soft reset on your router by unplugging it for ten seconds and then plugging it back in. Minor issues can frequently be fixed this way.
Different Types of Router Resets
There are various techniques for resetting a router, each with its functions. Knowing how these resets work will enable you to select the best strategy for your circumstances. Here are the main categories:
- Soft Reset: You can perform a soft reset by switching the router off and back on. Without changing any settings, this can fix momentary issues and regain connectivity.
- Hard Reset: A hard reset, also called a factory reset, returns the router to its initial factory configuration. All customized settings, including Wi-Fi passwords and network configurations, are deleted when you do this. It’s a more thorough approach frequently utilized when troubleshooting doesn’t work or when you want to start over.
- Power Cycle: A power cycle entails turning off the router, disconnecting it from the power supply, waiting a limited amount of time (often 10-15 seconds), plugging it back in, and turning it back on. Without changing your settings, this can assist in resolving minor issues.
- Wireless Reset: This kind of reset, sometimes known as a “Wi-Fi reset,” solely alters the router’s wireless settings. It can entail maintaining other configurations while resetting the Wi-Fi network name and password to their default values.
- Remote Reset: With some routers, you can remotely start a reset using a smartphone app or a web interface. This can be helpful if you need to solve connectivity issues while away from home.
Conclusion
Maintaining a reliable and adequate internet connection requires understanding the specifics of resetting your Starlink router. Before resetting your device, investigate several reset types, such as soft resets for minor hiccups or hard resets to return to factory settings. You can adjust your strategy to the particular issue because each method has a different goal. Before resetting, remember to be cautious and back up crucial settings. Applying these tips will enable you to handle router resets and guarantee a smooth online experience.

good wifi