Starlink satellite internet is easily available and straightforward in connection. Requiring only a clear view of the sky, Starlink dishes have gained lots of application across the globe. Starlink installation has been rated as the easiest to do.
They offer plenty of installation options, including pole mount, J mount, volcano mount, and roof mount. For some locations, signal obstructions, trees, and buildings are not a worry but mounting the Starlink dish on a roof is cumbersome.
Like other satellite companies, when you purchase your Starlink satellite internet, you will be supplied with a Starlink dish and its installation kit. The kit includes a base to mount your dish but only for ground installation – other modes of mounting need personal purchase. If you opt for the Starlink pole, you will need to make a different purchase. But why opt for a pole mount?
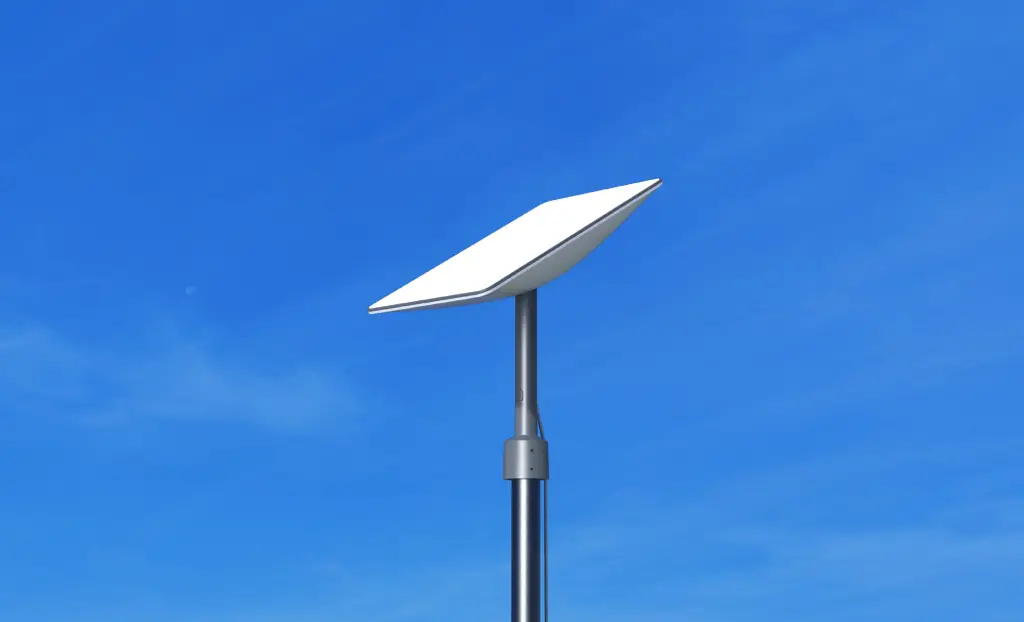
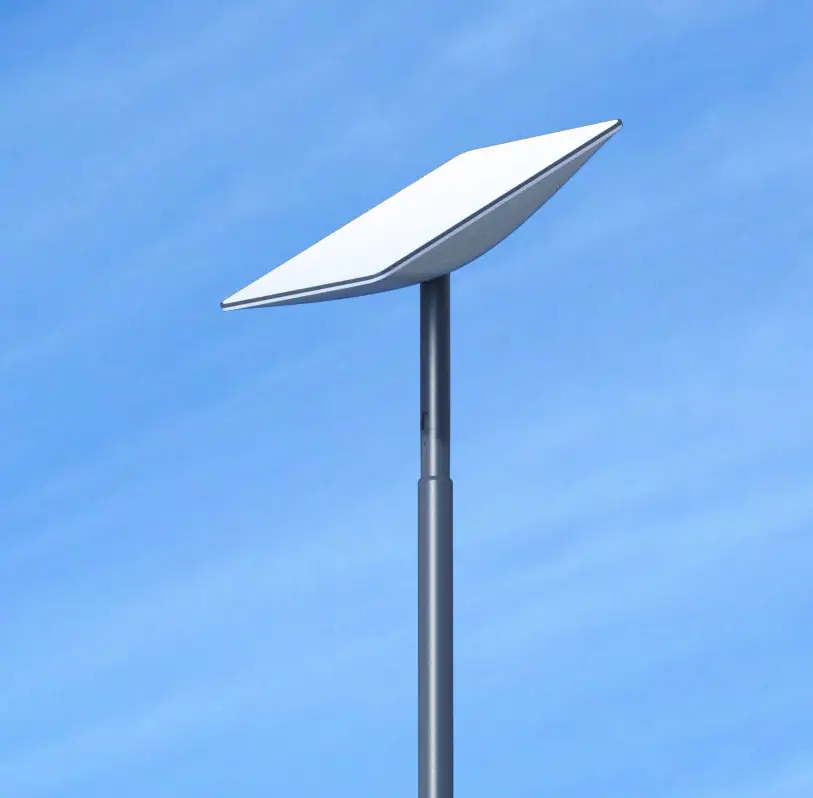
Starlink pole mount becomes the easiest and most effective mounting choice. It involves mounting a dish on a pole in your yard. A Pole mount is a great option when a roof mount is not an option or when you need to get the Starlink into an open area away from home.
Starlink is traditionally a DIY product, and so is the Starlink pole mount. Properly understanding where each pole mount component goes is crucial in installation.
Starlink pole is a straightforward installation procedure that anyone can achieve. Below are directives on choosing a pole mount for your Starlink.
Contents
Mounting a Starlink Pole Mount
To get Starlink internet in your home, you need to mount the dish somewhere with a clear view of the sky. The setup process includes scanning the overhead area with your smartphone camera to identify possible obstructions. During this process, you may not get that clear skyward view.
If you need to elevate your Starlink dish, several mounting options are available to help. Whether you want to put your dish on the roof, the side of your house, or even in the middle of a field, here are the accessories that let you do it.
Mounting the Starlink should be a well-curated procedure, as Starlink is not responsible for injury or damage caused to the property due to poor installation methods. Additionally, installing the Starlink dish using a pole mount requires deep awareness of the inclement weather, e.g., snow and wind.
The Starlink detects and melts snow that falls on it; however, accumulation of snow around the Starlink may block the field of view. It is recommended to install the Starlink in a location where snow build-up and other obstructions can be avoided.
Starlink Pole Mount Configuration
- Install the Starlink app on your phone (Download for iPhone and For Android )
- Before permanently building your Starlink dish into the ground, you can use the “Check for Obstructions” feature on the mobile app to find spots with an unobstructed view of the sky.
- Set up the Starlink dish
- After putting up your system, you can check if you have an unobstructed view by checking the data from your Starlink.
- Additional app features: customize settings and receive updates.
The Starlink App can display a “Motors Stuck” alert; your Starlink is mounted so that it cannot reach its appropriate angle to connect with the satellites. It is advisable to mount your Starlink within 5 degrees vertically. Mounting your Starlink in a horizontal position will not allow for optimal operation.
Starlink Pole Mount
The Pole mount option needs a separate purchase from the standard mounting kit. The pole mounting kit includes the following:
- Top tube
- Bottom tube
- Augut
- Mortar Hoe
- Gloves
- Water
- Level
- Mixing trough
- Concrete
Installing a pole mount should be well done, as any dire repercussions void the warranty of Starlink. To effectively mount your Starlink pole, follow the steps indicated below:
- Insert the bottom tube into the top tube.
- Tap (firmly) the joined tubes three times on the surface to solidify the bond. Advisable to tap the top tube.
- Select a location with solid ground. Avoid loose soils and marsh-like areas.
- Dig a deep hole 2’ (0.6 m) and a 1.5’ (0.5 m) girth.
- Place the pole at the center and use a level to ensure that it is mounted within 5 degrees vertically. Make the drain hole ~3” / 76.2 mm above the ground line.
- Mix the concrete as per the instructions and pour it into the hole. The drain hole should be above the concrete’s exterior.
- Maintain its upright position until the concrete sets enough to stand independently.
- Place the cable in the dish and mount it on the top.
- The Starlink power cable goes through the cable routing hole in the pole and out the top of the pole.
Starlink Pole Brackets
After deciding on the perfect pole length and clear distance of any fascia, mark a standoff length of 2 inches to prevent the pole from banging against the fascia. This will also facilitate future maintenance of your roof’s fascia boards and pole.
Brackets are responsible for holding the dish, and they vary depending on the mounting method; thus, check exactly what standoff you need before ordering your bracket.
Remember that the Starlink, like any other satellite dish, should be as rigid as possible to minimize any movements caused by winds. Always select a bracket that should be heavy-duty type and spaced appropriately.
Additionally, the fitting bracket hole should have a sufficient diameter and wall thickness to minimize flexion. An alternative to brackets with large standoff is a cranked pole.
As with any other installation procedure, safety procedures are necessary. Follow basic safety precautions to reduce the possible risk of injury, electric shock, or fire.
Safety Starlink installation instructions
- Ensure the product’s power is disconnected before accessing and installing the Starlink. Starlink contains moving parts when powered on.
- Find an easily accessible AC power outlet and plug in the power. If the power cord has a 3-pin attachment, plug the cable into a grounded pin outlet.
- Only use the power adapter and power cord with the system purchased from SpaceX.
- Do not operate with a damaged power cord set. If the power cord is damaged, replace it before using this product.
- During operation, do not allow the AC adapter to contact skin or a soft surface, such as carpet/rug or clothing. This is because the surface temperatures may rise, which is a risk, despite the product and the AC adapter complying with the surface temperature limits for user-accessible parts defined by applicable safety standards.
- Avoid using Starlink pole-mounted systems during an electrical storm. There is a remote risk of electric shock from lightning.
- Do not operate this product if you notice crackling, hissing, popping sounds, a strong odor, or smoke from any part of the system. Turn off the system, disconnect from the power source, and contact Starlink technical support for assistance.
WARNING! To avoid injury to persons and damage to property when drilling, take caution and follow basic safety procedures, including:
- Wear appropriate eye, hand, and face protection.
- Avoid studs, electrical wiring, and water lines when drilling. Drilling into any of these can lead to fire, shock, injury, or death.
- Drill slightly downward towards the home exterior and thoroughly apply the sealant. Wrong drilling and sealing may lead to water and bug intrusion and destruction.
Lightning Protection
If Starlink is used in a lightning-prone area, an external lightning protection system (lightning rod, ground rod, surge protector, etc.) may reduce product susceptibility to lightning. For added protection, remove the antennae cable and ensure you unplug the Starlink from power during a lightning storm or when you intend to leave the setup unattended and unused for a long. This prevents damage to Starlink from power line surges.
The warranty does not cover nature damages due to the following:
- Lightning, electrical surges, fires, and floods
- Accident, misuse, abuse, or alterations
- Improper or neglected maintenance
FAQs
Starlink meets the US National Electrical Code grounding requirements and includes the necessary lightning protection.
The optimal position is where the Starlink app points out, provided it is clear of any obstruction.
The Starlink dish can be placed up to 150 feet from the house.
The clamp kits can be used with an alloy to install a Starlink pole parallel to a box section.
The maximum diameter is 0.60 inches. If you need to drill a hole through a wall drill, a ¾ inches drill or space bit should be enough.
Conclusion
If none of the above works for your situation, many different custom options are available. The Starlink dish can be attached to various structures. If you are a DIY-type of person with extra materials, it might be worth designing your mounting solution using different brackets and pipes sourced from the hardware store.
Understanding the most effective mounting method for your Starlink can be a cost-effective DIY. Easily manufactured and well-packed, the pole mounting option is a simple, straightforward process that anyone with handy skills can achieve.
As discussed above, mounting the Starlink should be a careful job as damages to Starlink null the warranty arrangement, causing more cost implications. Starlink is an internet service provider that is good for all.

Looking for an RV Mount, maybe telescoping pole, where can I find one?